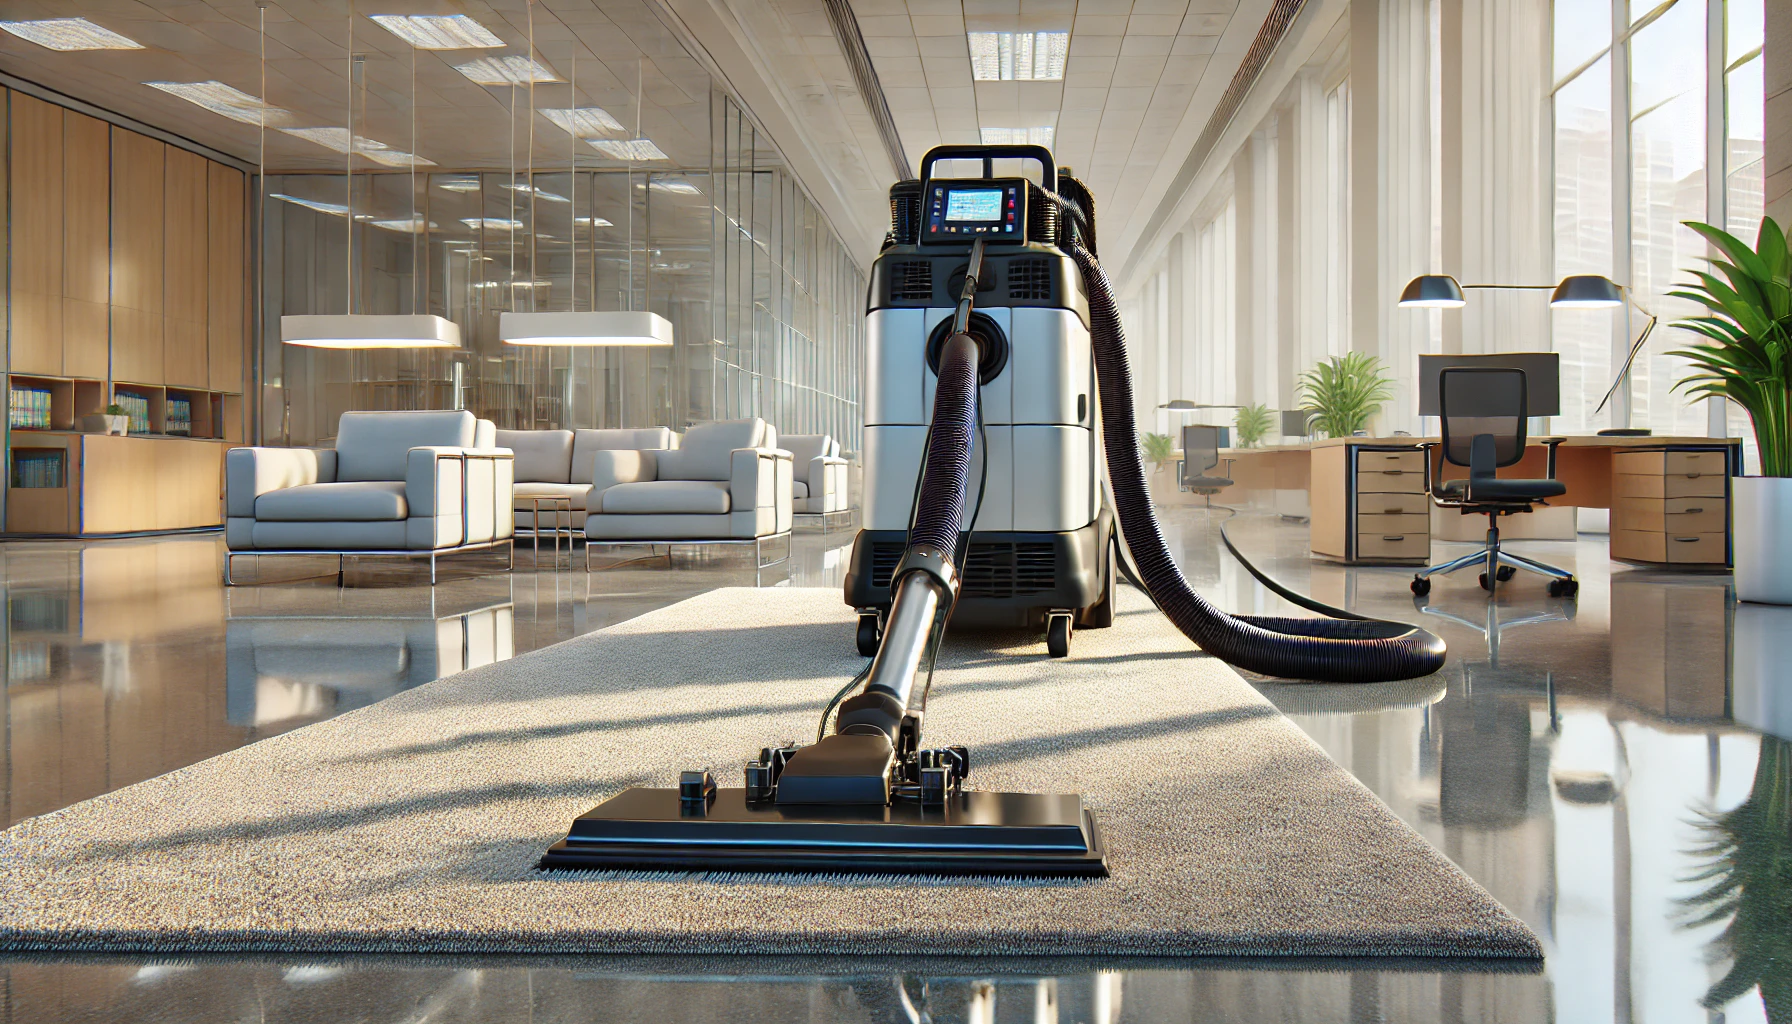
A Complete Guide to Using a Carpet Extractor for Deep Cleaning
Carpet Extractor for Deep Cleaning
Cleaning your carpet doesn’t have to be a chore—it can actually be a straightforward process that yields excellent results. One of the most effective tools for deep cleaning carpets is a carpet extractor. This guide will take you step-by-step through the process of using a carpet extractor, providing you with the necessary techniques, tips, and tools to ensure your carpets stay fresh, clean, and well-maintained.
Step 1: Gather the Necessary Tools and Cleaning Products
Before diving into the cleaning process, make sure you have all the required tools and supplies ready. Having the right equipment can make a significant difference in how well your carpet is cleaned.
What You’ll Need:
- Carpet Extractor (choose the model that best suits your needs)
- Carpet Cleaning Solution (make sure it’s compatible with your carpet type)
- Vacuum Cleaner (for pre-cleaning)
- Soft Scrub Brush (for tough stains)
- Clean Towels or Rags (for blotting moisture)
- Bucket (for mixing the solution, if necessary)
Starting with the right tools ensures that you’re ready to tackle the cleaning process with ease.
Step 2: Prepare Your Carpet for Cleaning
Preparation is key to achieving optimal results. By properly preparing your carpet, you’ll make the extraction process more efficient and effective.
- Vacuum the Carpet: Start by thoroughly vacuuming your carpet to remove loose dirt, dust, and debris. This step prevents dirt from being pushed deeper into the fibers during the extraction.
- Treat Stains: If your carpet has visible stains, use a stain remover to treat the affected areas. Let the solution sit for a few minutes to break down the stain before you start the extraction.
- Protect Nearby Furniture: Use plastic sheets or drop cloths to protect furniture and surrounding areas from getting wet during the cleaning process.
Taking these initial steps will help ensure a better clean and more thorough results.
Step 3: Mix the Cleaning Solution
If your carpet extractor requires a cleaning solution, it’s essential to mix it correctly to avoid any residue or ineffective cleaning.
- Follow the Instructions: Always refer to the instructions on the cleaning solution bottle to make sure you’re mixing it in the correct proportions. This will maximize the solution’s effectiveness.
- Choose the Right Cleaner: Ensure the cleaner you choose is formulated for your carpet type. Some cleaners work better on synthetic fibers, while others are designed for more delicate materials.
By mixing the solution properly, you’ll get the most out of your cleaning effort without risking any damage to the carpet.
Step 4: Using the Carpet Extractor
Now it’s time to start the extraction process. Follow these instructions for a clean, well-maintained carpet.
- Fill the Extractor: Pour the prepared cleaning solution into the extractor’s solution tank, ensuring it’s not overfilled to avoid spills.
- Power On the Extractor: Turn on the machine, adjusting the settings according to the level of cleaning your carpet needs. For heavily soiled carpets, use a higher setting to ensure effective dirt removal.
- Start Extracting: Begin in one corner of the room and slowly move the extractor across the carpet. As the machine dispenses the solution and sucks up the dirt, move in overlapping passes to ensure full coverage.
- Work in Small Sections: Depending on the size of your carpet, work in smaller sections to ensure even cleaning and avoid over-wetting any areas.
Take your time to work the extractor slowly across the carpet. This ensures the dirt is properly removed while keeping your carpet fibers intact.
Step 5: Rinse and Dry the Carpet
After extracting dirt and debris, the next essential step is to rinse and dry your carpet properly.
- Rinse (If Necessary): Some extractors come with a rinse feature, which helps remove any remaining cleaning solution. If your machine doesn’t have this feature, you can lightly mist the carpet with water.
- Allow the Carpet to Dry: Once the extraction is complete, allow your carpet to dry completely. You can speed up the drying process by opening windows or using fans, but avoid using direct heat, as it could damage the fibers.
Patience is key here, as carpets can take several hours to dry fully. Walk on the carpet only once it’s dry to avoid damage.
Step 6: Final Touches for a Fresh, Clean Carpet
After your carpet has dried, there are a few final steps to ensure it looks its best.
- Vacuum Again: Once dry, vacuum the carpet again to fluff the fibers and remove any remaining dirt or debris. This step helps restore the texture of the carpet and gives it a refreshed look.
- Regular Maintenance: To keep your carpets clean for longer, consider scheduling regular cleaning sessions. Depending on traffic, aim for every 6-12 months to keep the fibers in top shape.
- Consider a Carpet Protector: Applying a carpet protector can help prevent future stains and dirt buildup, ensuring that your carpet remains cleaner for longer periods.
With proper care, your carpet can stay fresh, clean, and vibrant, extending its life and maintaining its appearance.
Conclusion: Enjoy a Professionally Cleaned Carpet
Using a carpet extractor is one of the most effective ways to deep clean your carpets and keep them looking like new. By following these easy steps, you can achieve a thorough, professional-level clean, while protecting the health of your flooring. With regular maintenance and proper care, your carpets will stay fresh, inviting, and well-maintained for years to come.


